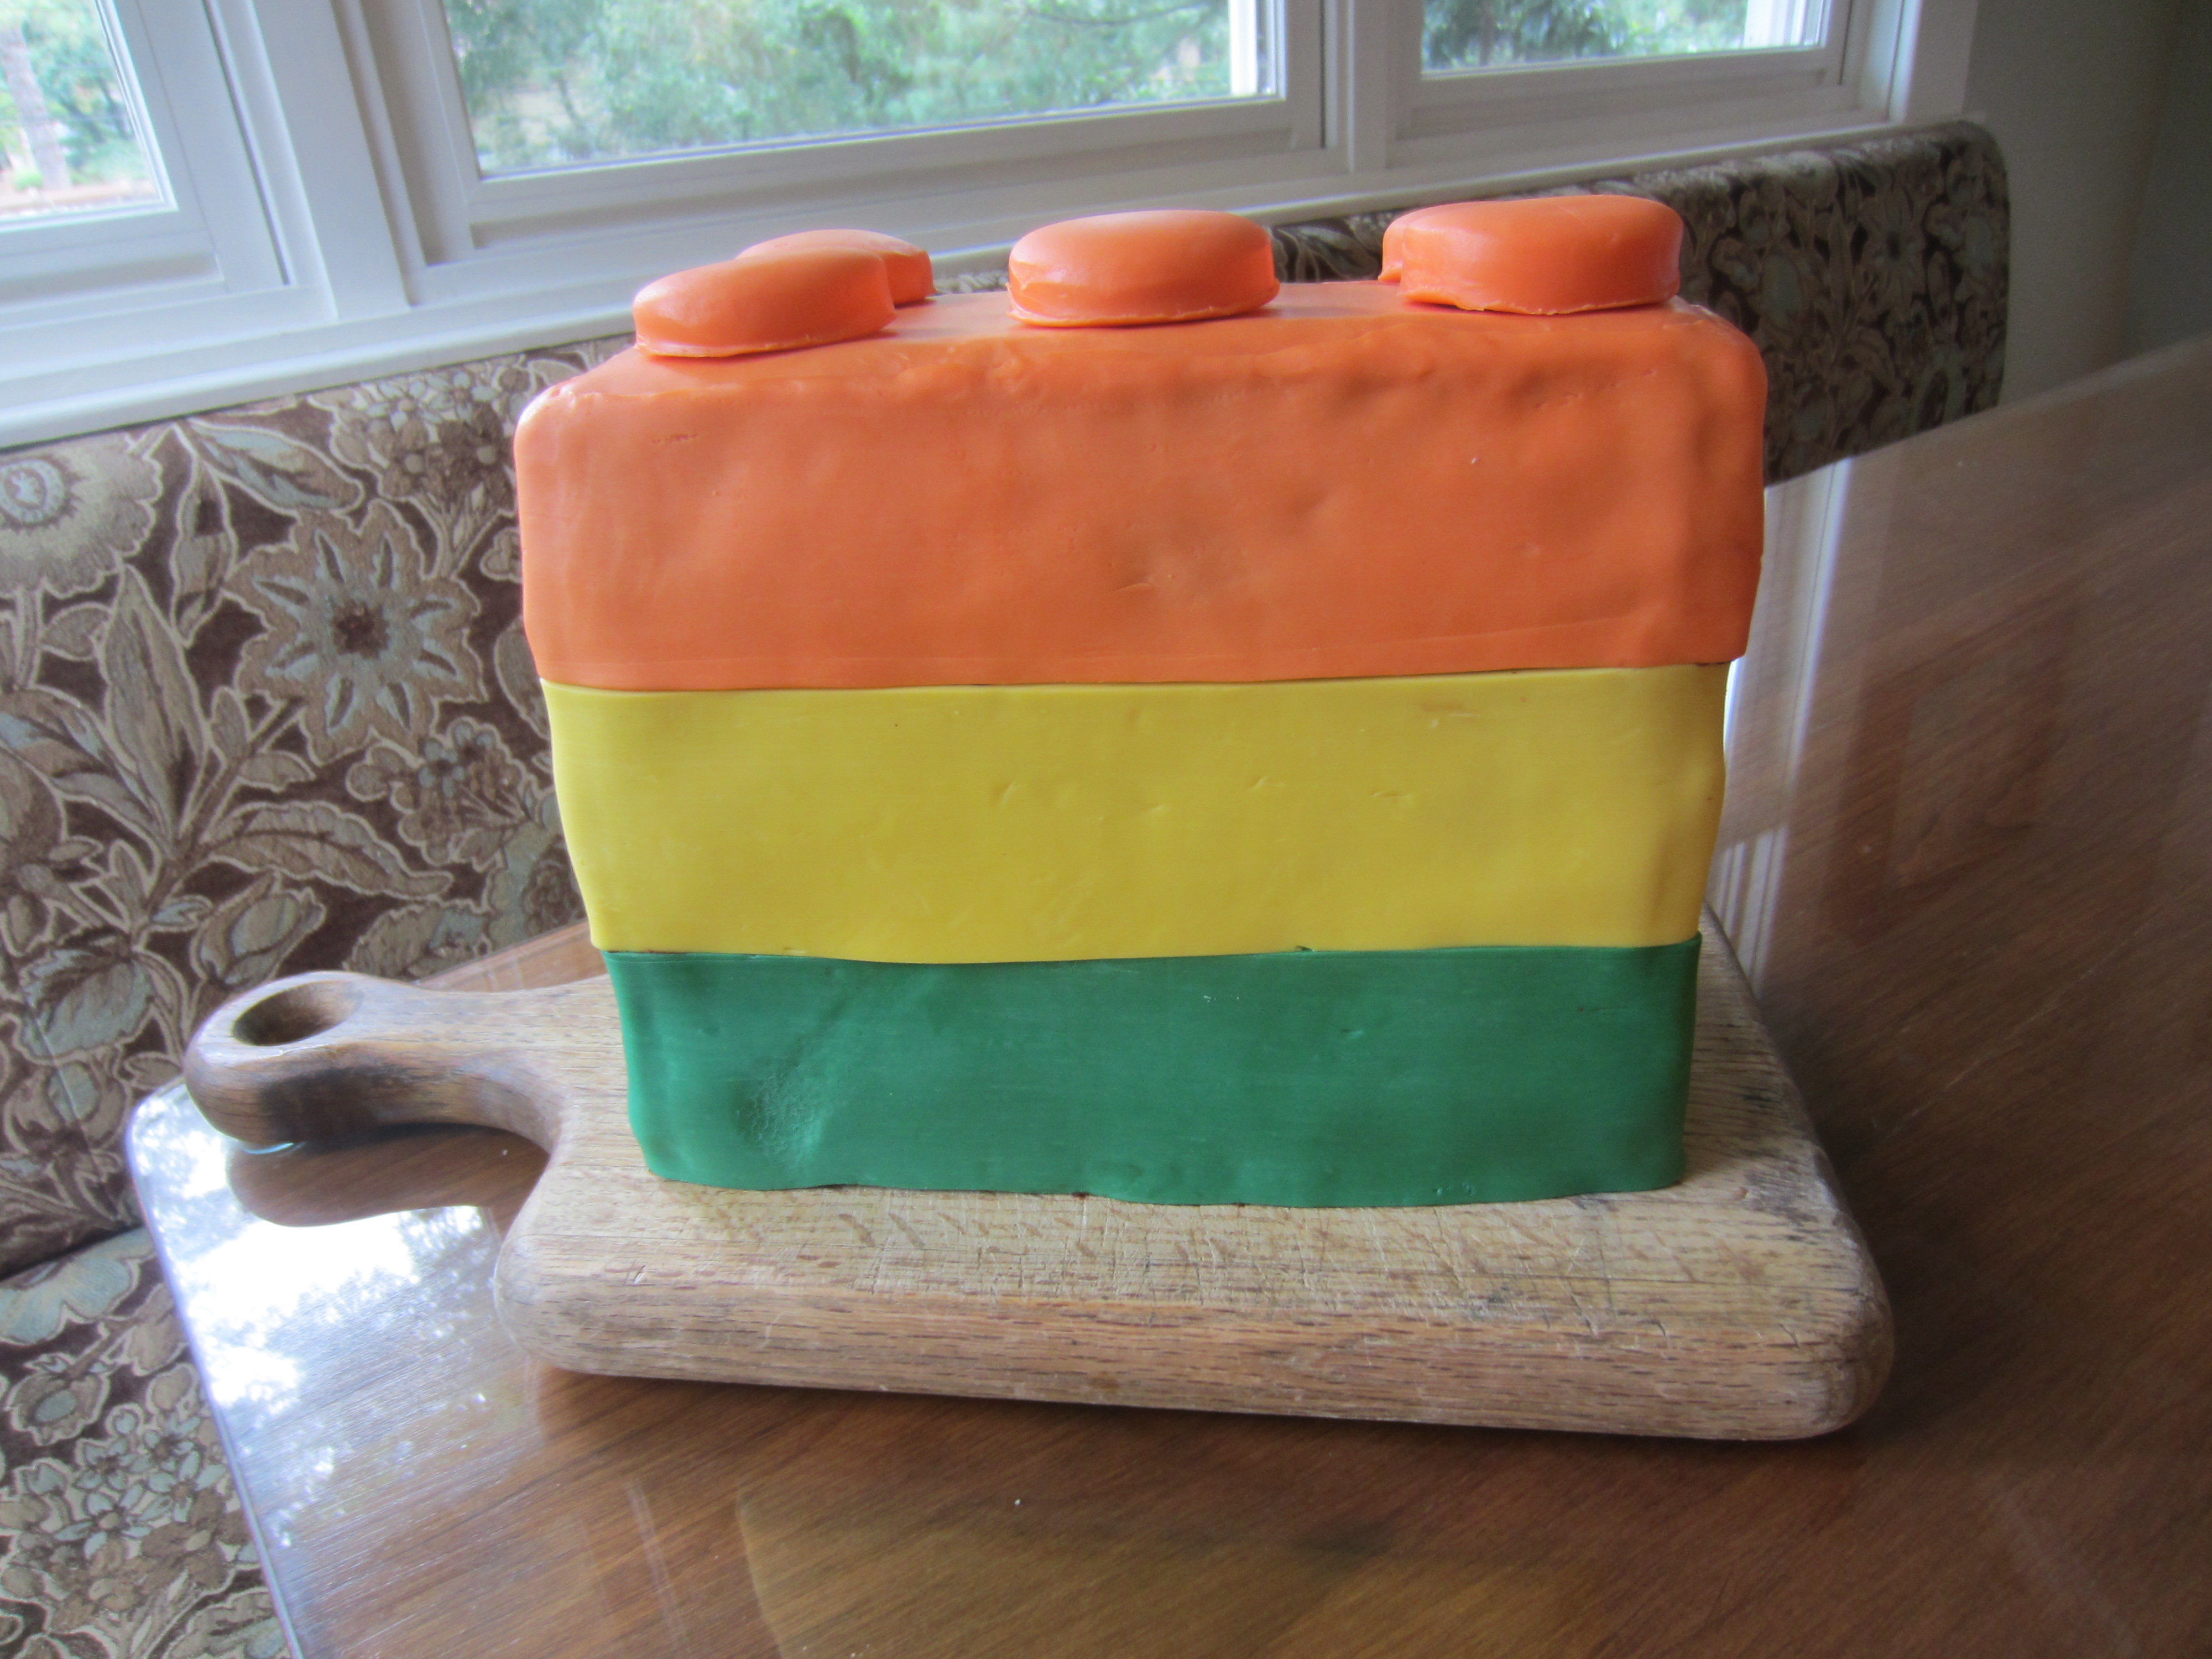
I was commissioned to make a lego cake for a seven year old’s birthday party.
This is a big step. I knew that if I simply frosted it with bright colors, the effect wouldn’t be as great. So I faced my fear: modeling chocolate / fondant / gumpaste etc.
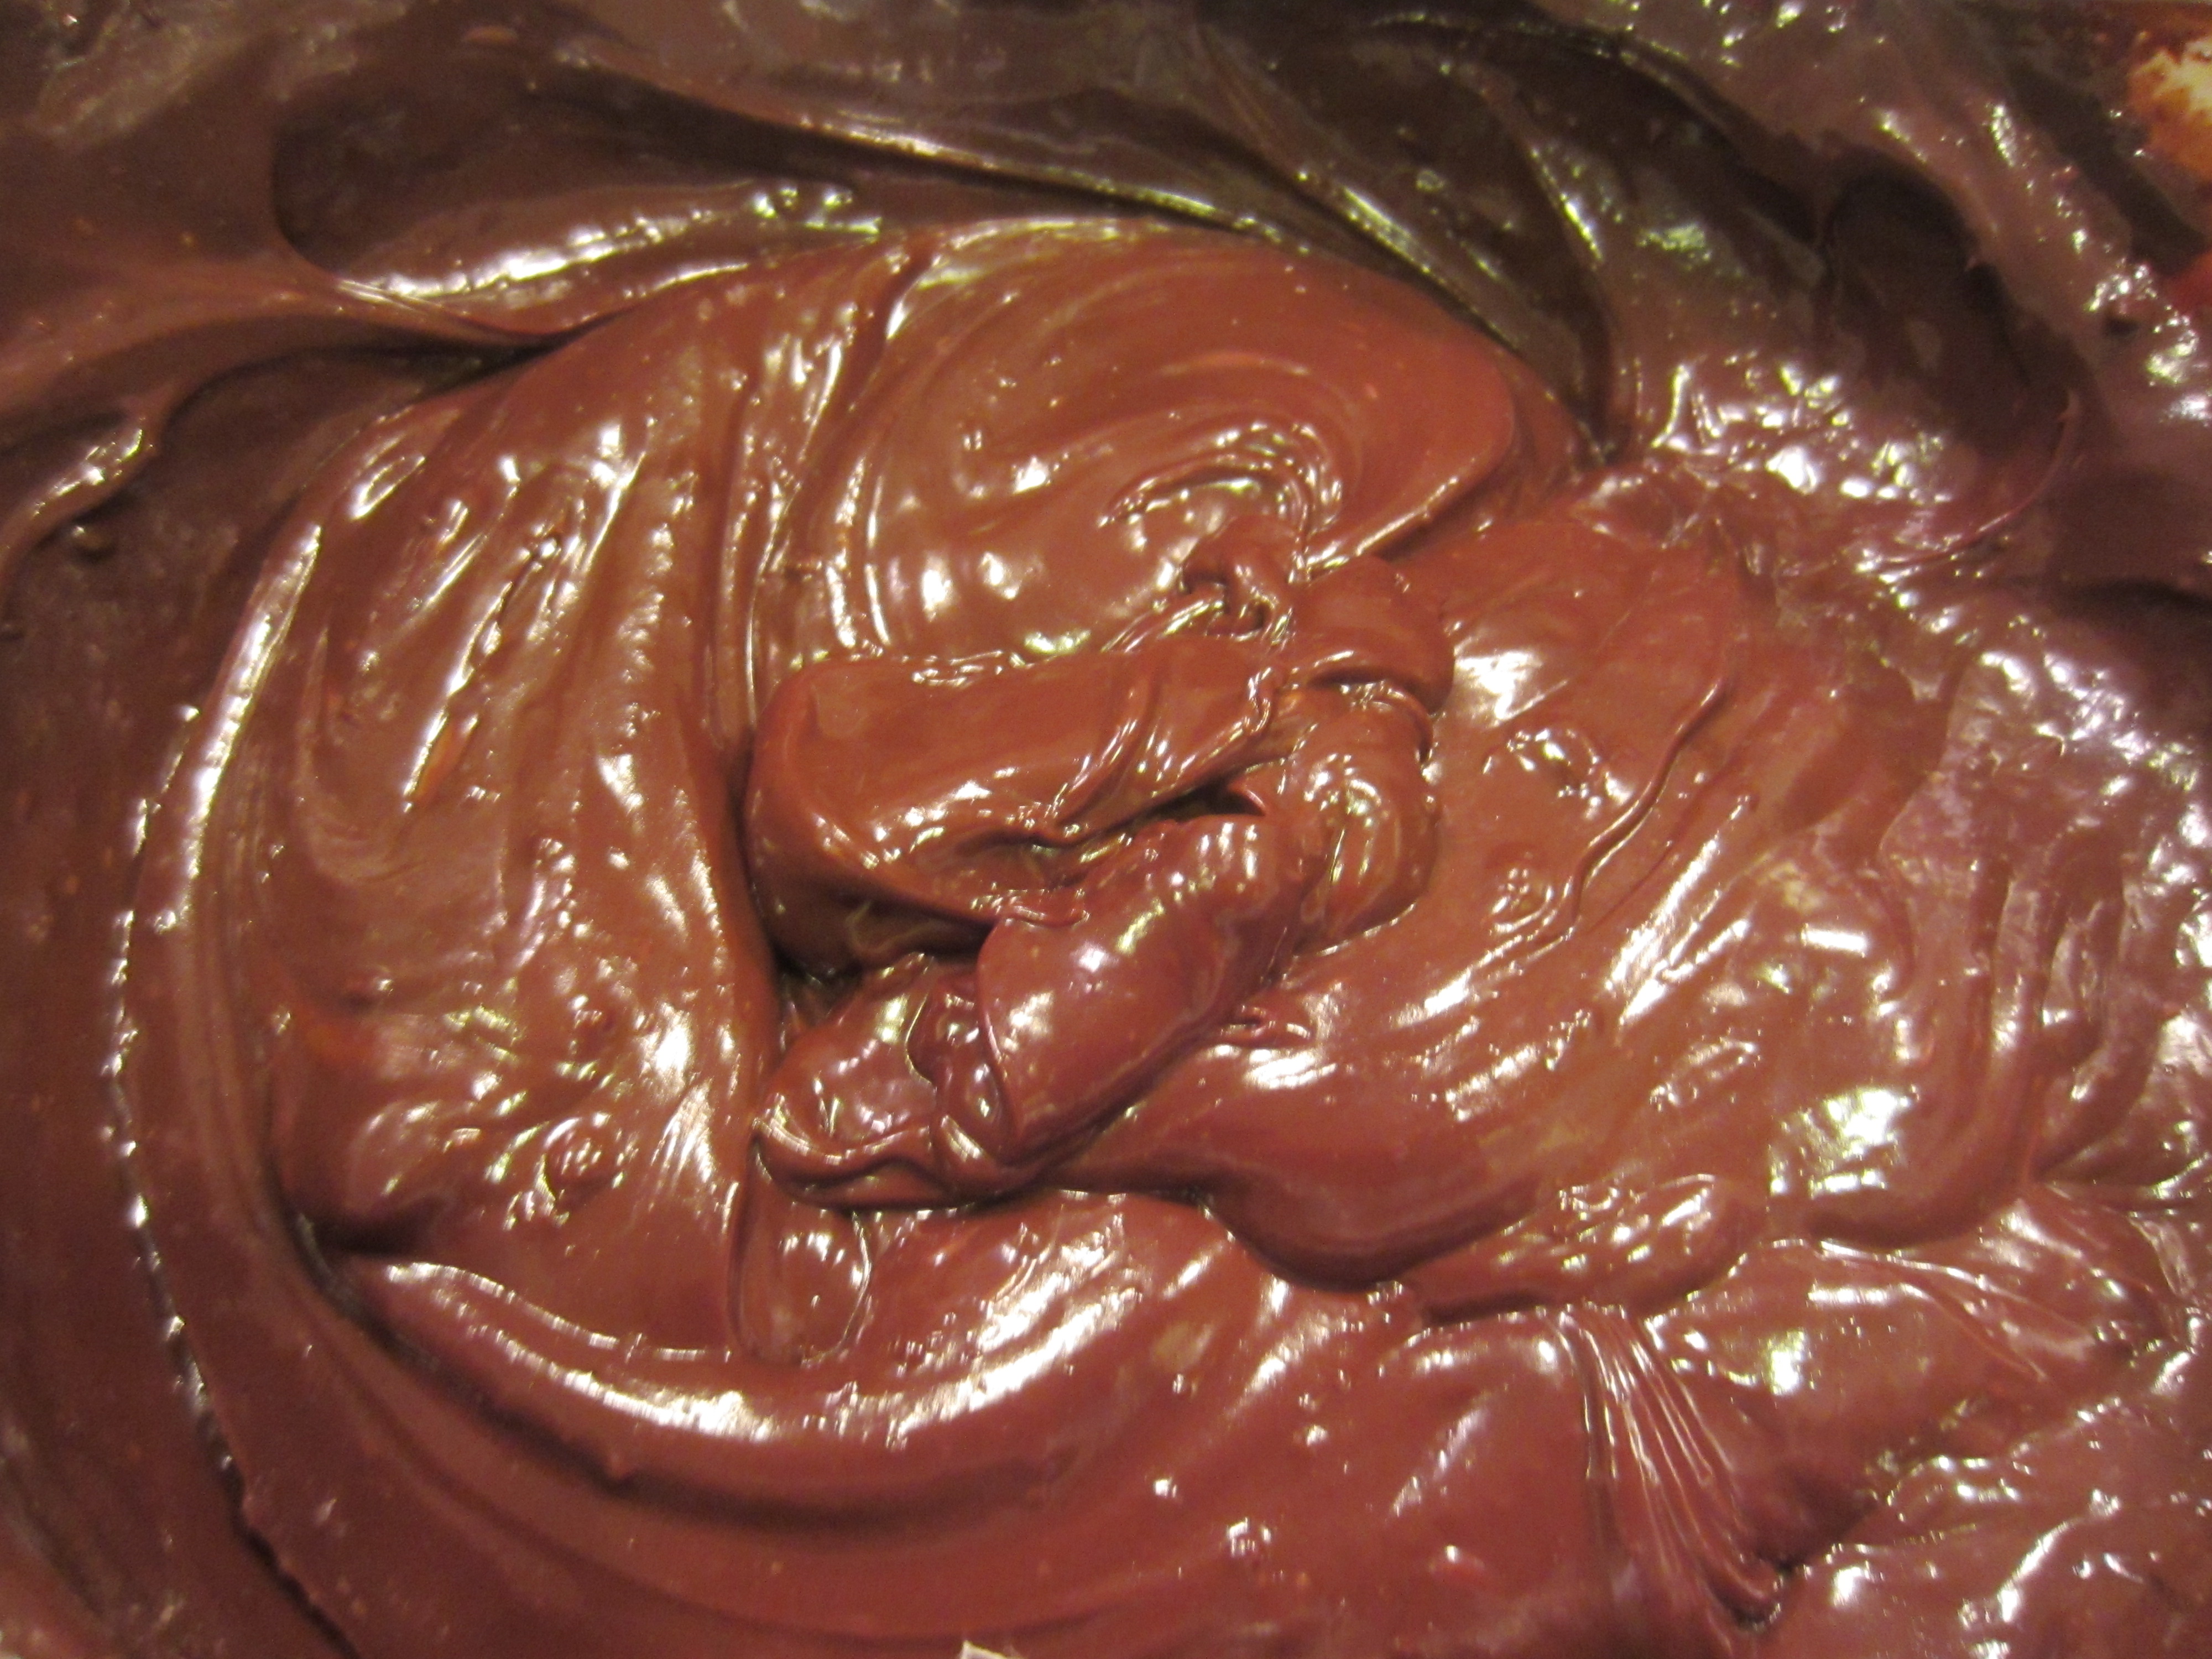
Fondant tastes gross. It tastes like a flavorless airhead. I did some research and decided to make my own modeling chocolate. Modeling chocolate is made by melting chocolate and stirring in corn syrup. In theory, that’s all you have to do. However, mine turned into a giant greasy ball which I had to knead, chill, knead again, and roll out in a pasta machine.
But it was worth it, because the chocolate resulted in the perfect play-doh-like consistency and it tasted good!
Here’s how I made the whole cake, step by step:
1. I took my favorite dark chocolate cupcake recipe (browneyedbaker.com/2010/06/10/dark-chocolate-cupcakes-with-peanut-butter-frosting/) and quadrupled it. I then baked the batter in 3 loaf pans.

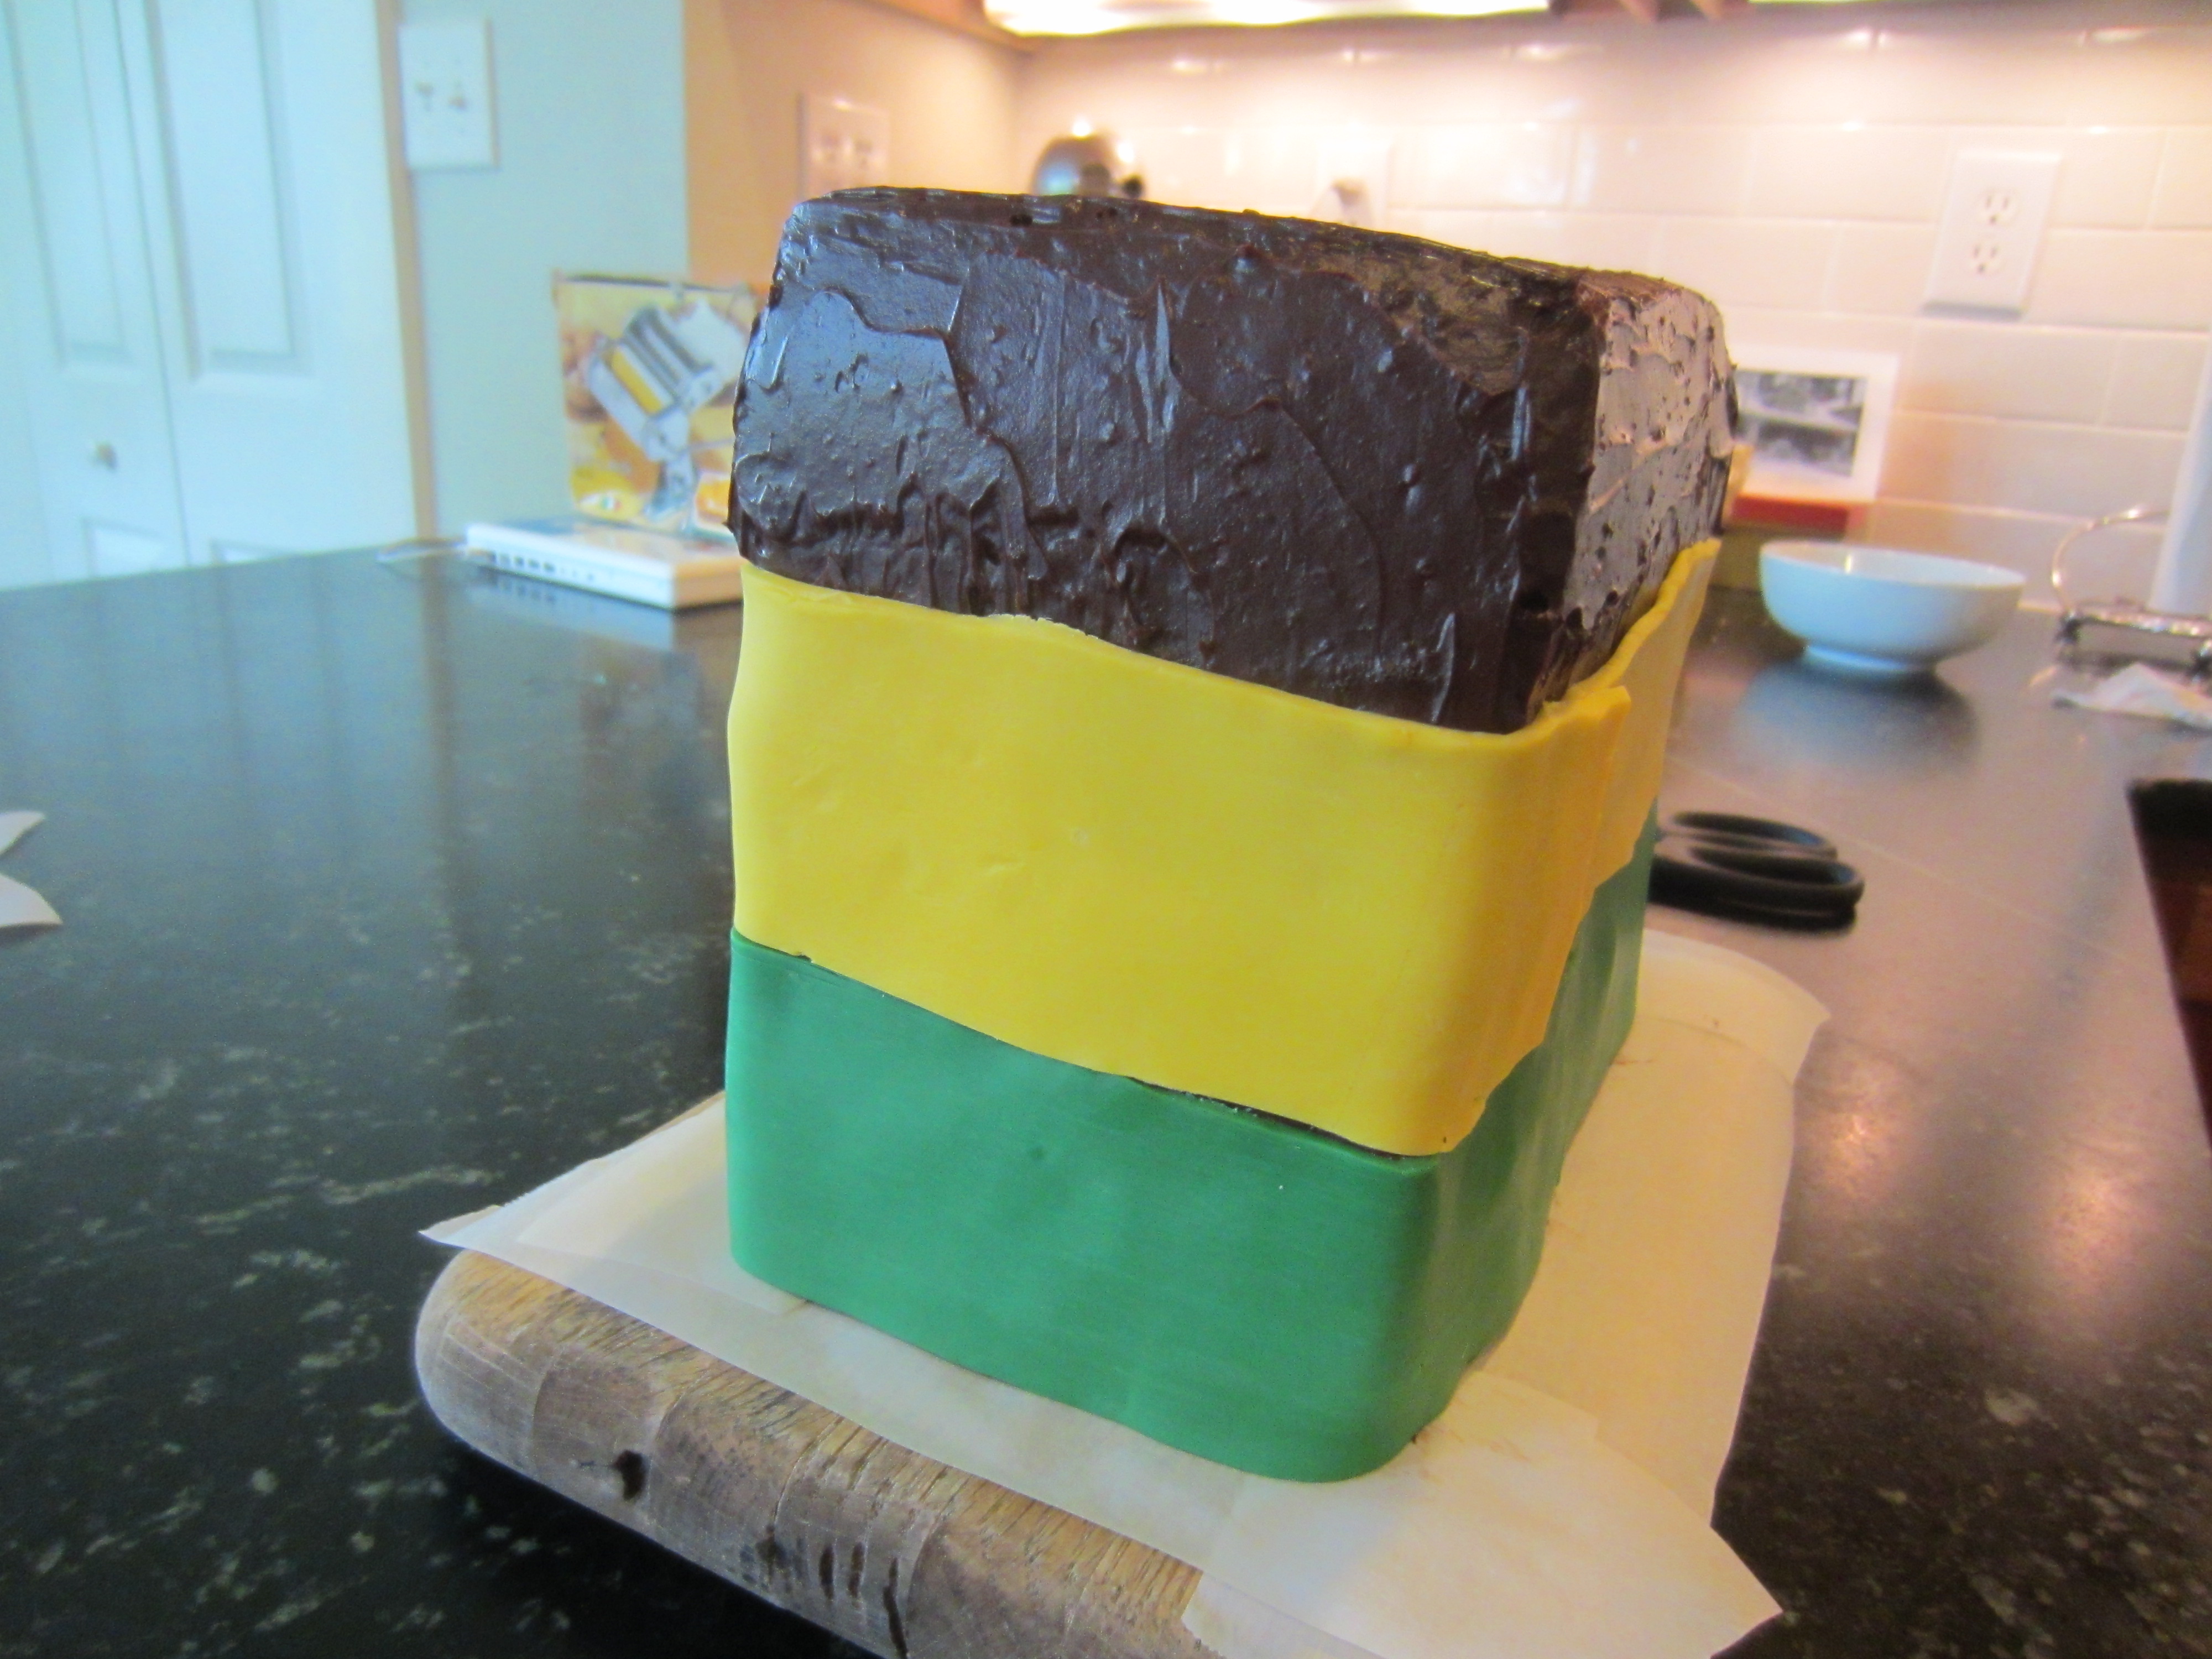
2. Once the cakes had cooled overnight on a rack (you don’t need to do it overnight but it was convenient), I stacked them vertically and trimmed the sides so they were nice and sharp. Then i glued them together with a basic chocolate buttercream.
3. I made a chocolate ganache by heating a cup of heavy cream and pouring it over a cup of chocolate chips, then stirring it until smooth. It is essential to let the ganache set, either in the fridge or set out overnight. It needs to be thick.
4. Next, I crumb coated the assembled cake with the thick ganache. The purpose of the coating is to give the modeling chocolate something to hold on to, and to create very sharp edges. I used an offset spatula, which made the ganache extremely easy to spread.

5. For the modeling chocolate: I bought 3 bags of Wilton candy melts (orange, yellow, and dark green). I melted one bag’s worth in a double boiler, then stirred in 1/3 cup of light corn syrup. The mixture seized up and became very oily. There’s probably a better way to do this but this is just the method that I used. I turned the greasy ball out onto a sheet of wax paper and kneaded it for about a minute (your hands are going to feel pretty gross). I blotted some of the excess oil with a paper towel, wrapped the disk of modeling chocolate in plastic wrap, and refrigerated it for half an hour. After it had chilled, I kneaded it little by little until it was pliable and soft.

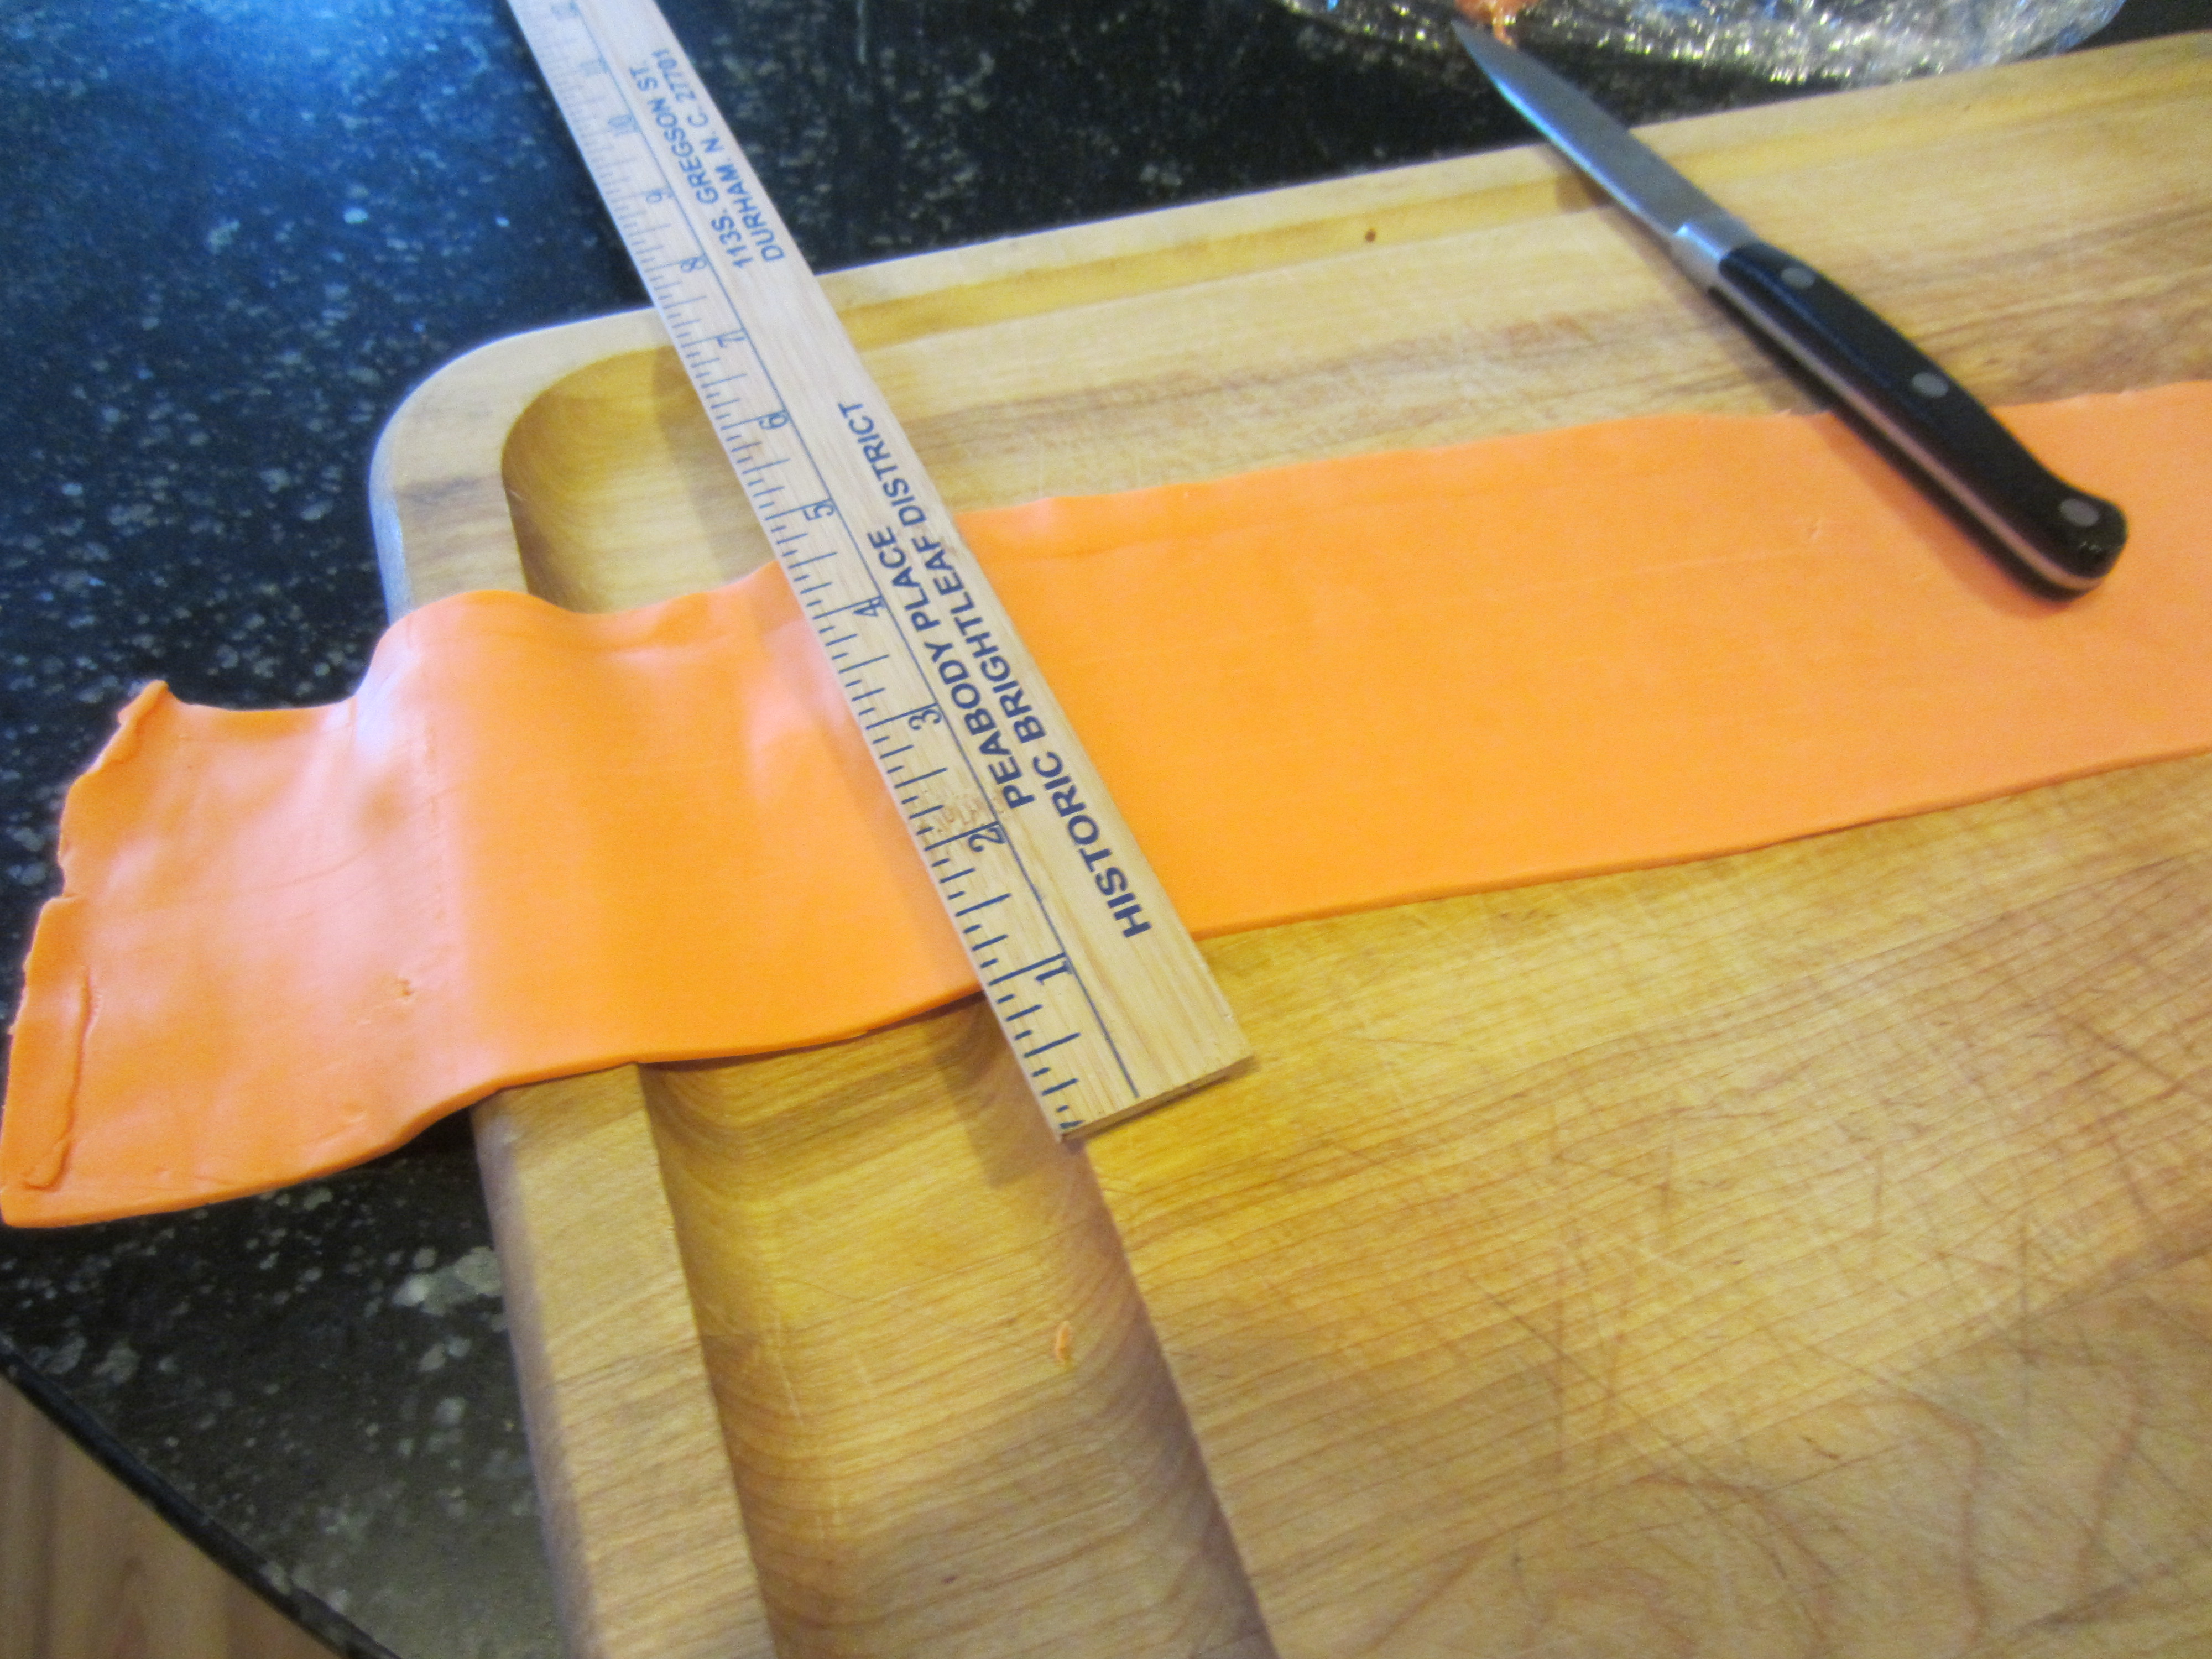
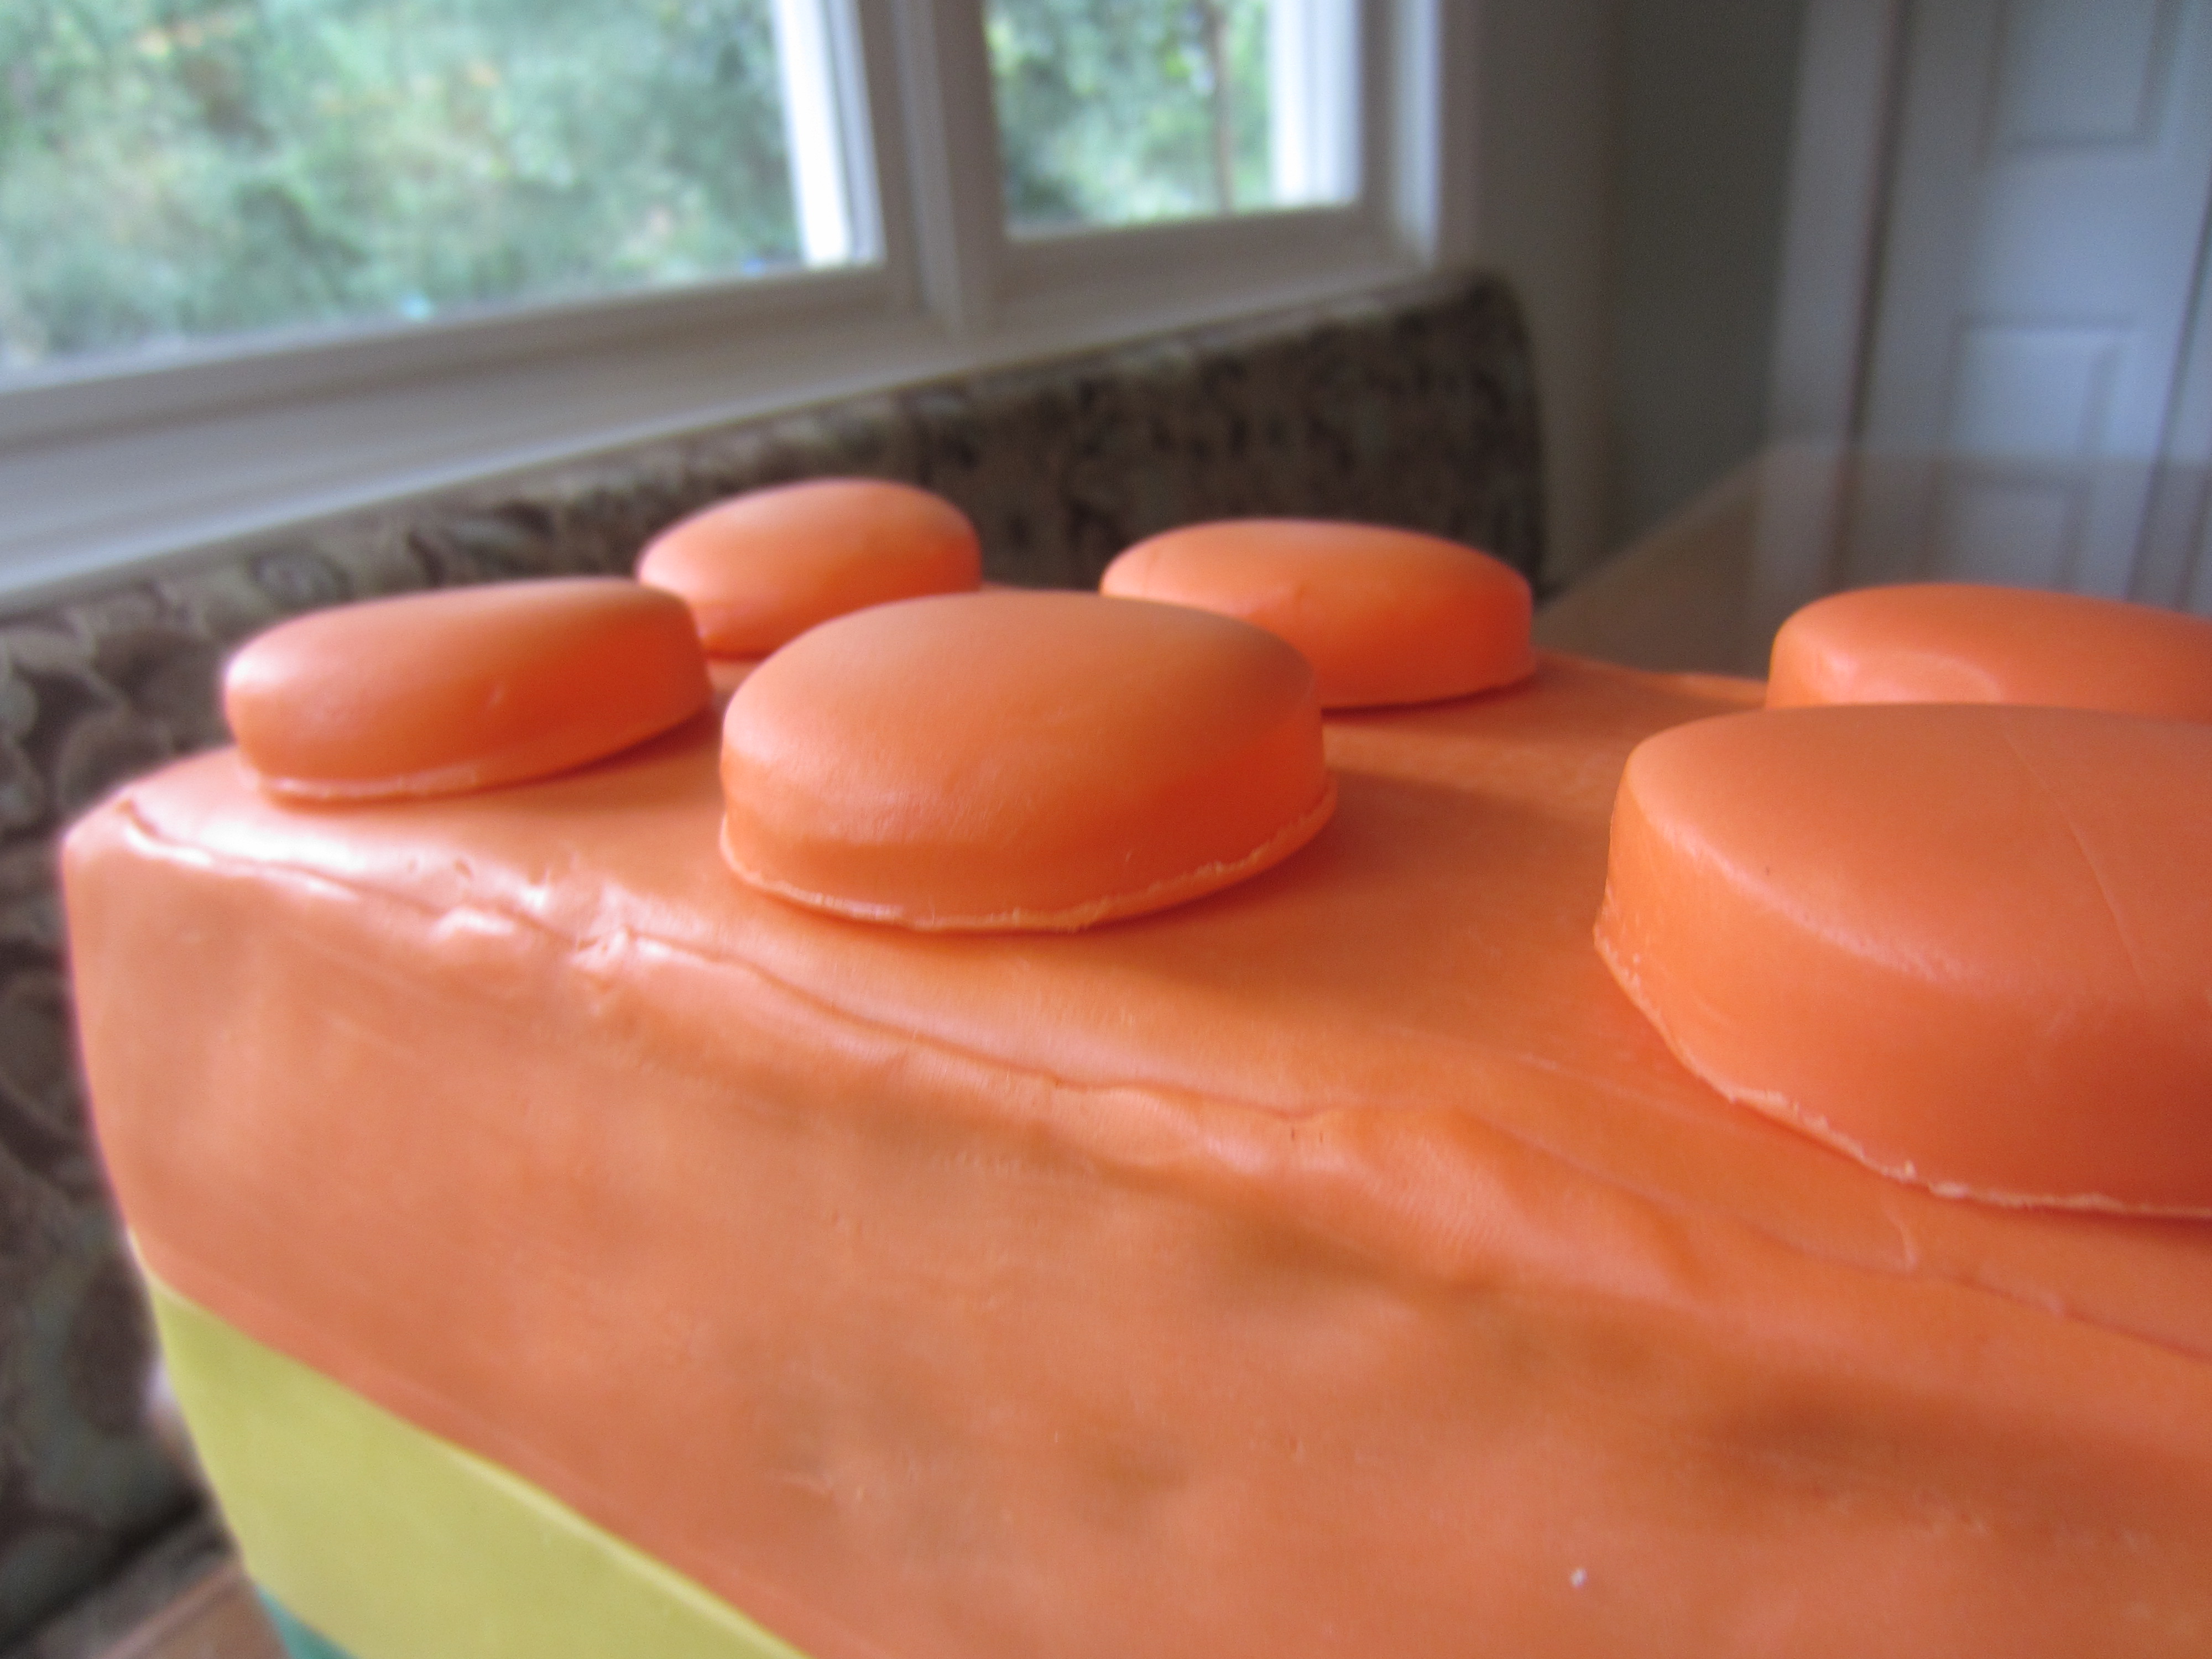
6. This is the last step I promise! I took the 3 colors of modeling chocolate and rolled them out using the thickest setting on my pasta machine. If you don’t have a pasta machine, roll it by hand, but it is important that all the colors are the same thickness. I trimmed the strips with a knife and wrapped them around the first layer of the cake, placing the seam on a corner so I could rub it out with the heat of my hands. I repeated the process with the next color on the next layer. Then I cut a piece to fit the top, and proceeded to wrap the last color around the top layer. I trimmed the excess that was sticking over the top with some scissors, then rubbed the seam out. For the dots on top, I rolled the modeling chocolate out thick on wax paper and used a 1 1/2 inch biscuit cutter. Once you cut the circles, peel away the remaining modeling chocolate but DO NOT TOUCH THE CIRCLES. Refrigerate them immediately, or else they will have fingerprints on them. They only need to chill for 10 minutes. Finally, I attached the circles with a bit of ganache.

There you go! These directions can help you with more than just a lego theme; they can go for any basic modeling chocolate covered cake.

Leave a comment